A diffuser should arrive at your workshop with a clear installation plan—not a puzzle that starts after the customer’s bumper is apart. Before booking a BMW G87 M2, establish exactly which diffuser, exhaust configuration and mounting system you are working with.
G87 carbon fiber diffuser installation requires product-specific instructions, a complete contents check and a non-destructive trial fit against the actual bumper and exhaust. This guide organizes those checks. It does not supply drilling positions, torque values or exhaust-clearance limits for an unidentified product.
Request the hardware list and installation information before committing workshop time. Send the product reference and rear photos of the customer’s car so missing details can be addressed together.
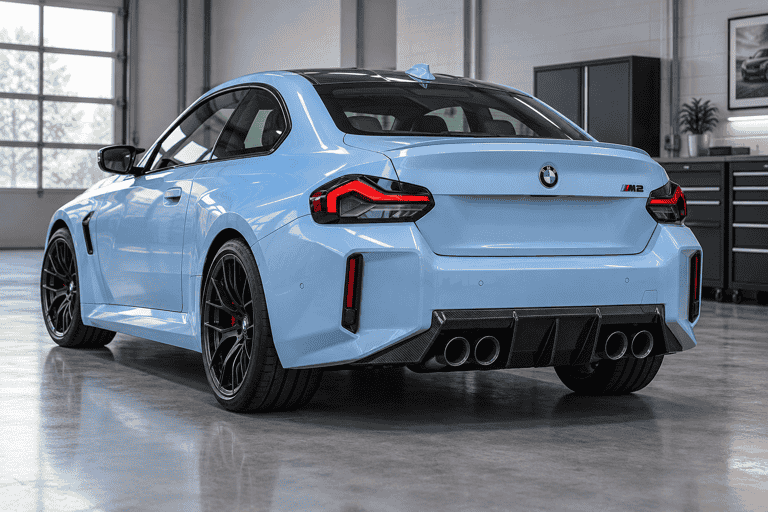
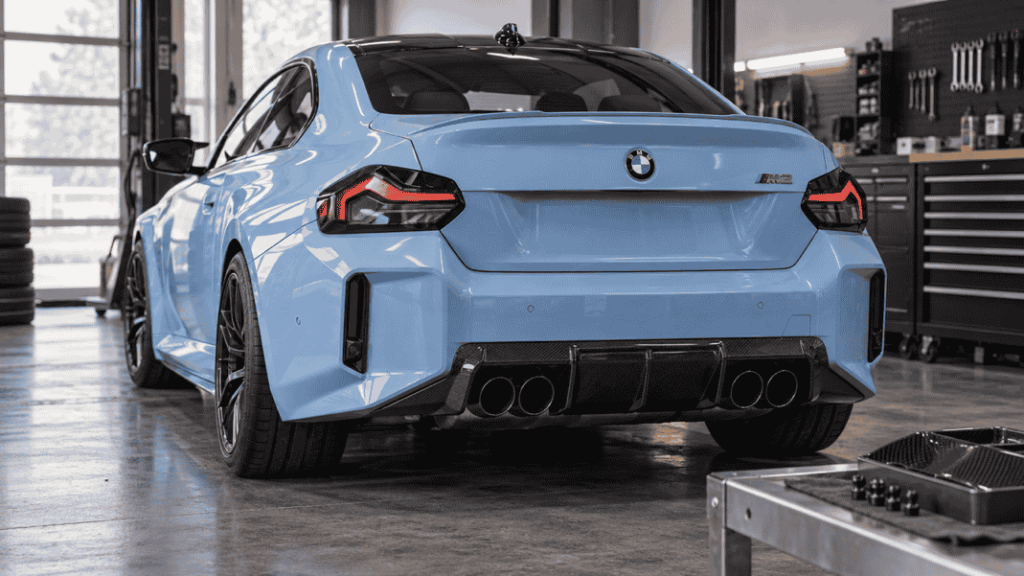
AI-generated styling concept; not a verified installation or exhaust-clearance reference.
What must match before installation?
| Item | Confirm before disassembly |
|---|---|
| Vehicle | G87 M2 model year, current bumper and relevant modifications |
| Diffuser | Exact product reference, revision and supplied sections |
| Exhaust | Factory or aftermarket system, actual tips and their position |
| Interfaces | Product rear-view photos, attachment details and required transferred parts |
| Hardware | Supplied and separately required clips, fasteners, brackets or other fittings |
| Instructions | Matching document or video, including final checks |
Our catalog contains several G87 rear-lip designs. A name or similar appearance does not establish shared installation requirements. Check the selected version rather than treating every G87 listing as the same kit.
1. Record the car’s actual rear-end configuration
Ask about exhaust changes before ordering, not after the diffuser arrives. Obtain the exhaust manufacturer’s reference where available, and photograph the complete rear bumper and both outlet areas.
Tip diameter alone is not a complete compatibility check. The outlet shape, spacing and projection relative to the bumper also need to match the selected design. Request the diffuser supplier’s measurement points and required clearances; there is no universal value provided here.
If the car has an aftermarket bumper or additional corner extensions, identify those too. Compatibility with a stock-looking rear end should not be inferred from a cropped product image.
2. Match the instructions to the delivered product
Use an exact reference and revision. Manufacturer documentation can be product-specific: ADRO’s installation-guide index, for example, lists a particular G87 race diffuser by part number. That document structure illustrates the need for identification; it does not make ADRO’s instructions applicable to our catalog parts.
Before starting, confirm what must be removed, retained, transferred or replaced. Ask whether the diffuser is a complete replacement or an add-on arrangement and whether associated sections are included.
If the video, written instructions and delivered kit disagree, obtain clarification before proceeding. Do not fill the gap with a video of a different-looking—or even similar-looking—diffuser.
3. Count the kit before taking the car apart
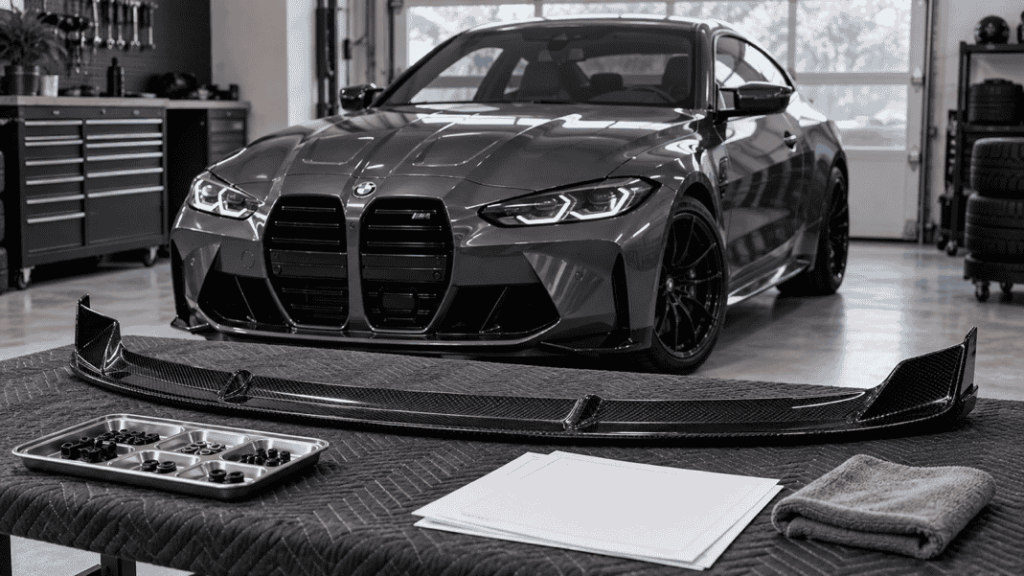
Lay out the parts on a protected surface. Compare them with the confirmed contents list and photograph the complete kit.
Record each supplied section and hardware item. Keep original vehicle fasteners separate from new items when removal begins, following the applicable procedure. Do not substitute a nearby screw because its head looks similar.
Inspect attachment features and edges for visible damage. If a tab is damaged or a required bracket is missing, document it while the part remains unmodified. That is a better starting point for support than a partially altered installation.
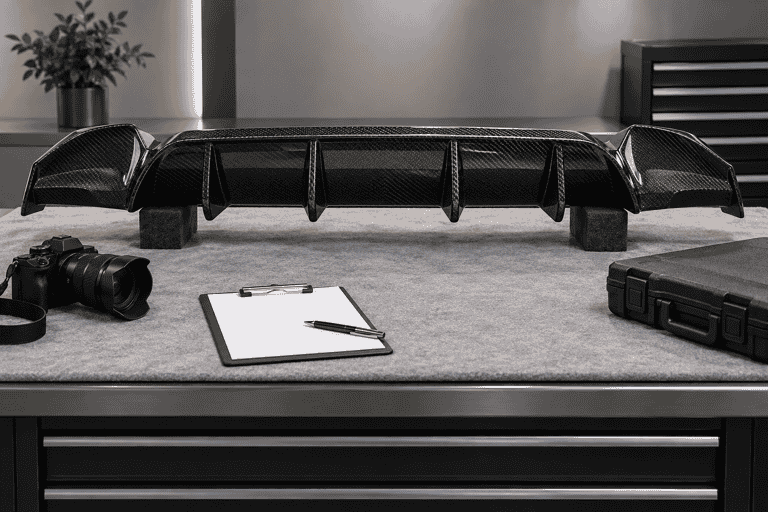
AI-generated preparation concept; not actual G87 mounting geometry, a contents list or a completed inspection.
4. Perform the instructed trial fit
Allow the exhaust to cool and use approved vehicle support and access procedures. Have a qualified installer follow the product and vehicle instructions for removal and trial fitting.
Check the center and both sides together. Review the bumper interface, section alignment and fixing locations without forcing the carbon part into position. Evaluate the exhaust relationship using the defined reference points and the applicable clearance requirements.
A static photo cannot establish clearance under all operating conditions. Ask what heat and movement considerations must be checked for the actual exhaust and diffuser combination. Do not use an idle-only observation as proof that the arrangement is suitable in every driving condition.
If interference or an unexplained mismatch appears, pause the affected work. Do not trim the diffuser, move the exhaust or add spacers as an improvised fix.
5. Resolve discrepancies with useful evidence
| Finding | Send for review |
|---|---|
| One side does not align | Whole rear view, both corners and current trial-fit position |
| Exhaust relationship differs from the instructions | Both outlet views, exhaust reference and requested measurements |
| Mounting feature does not correspond | Photos of the vehicle and part interfaces, document page reference |
| Contents are incomplete | Whole-kit photo beside the agreed contents list |
| Instructions are ambiguous | Exact step, document revision and work already completed |
Ask for a response tied to your product version. A general instruction to “adjust until it fits” does not define the intended installation.
6. Finish and hand over against a recorded procedure
Once the trial fit and open questions are resolved, complete attachment using the confirmed hardware and procedure. Apply only the product-specific tightening and bonding requirements; this article does not prescribe them.
Before handover, complete the required final checks, including applicable exhaust clearances and any affected vehicle functions. Record the installed configuration, instructions used and results. Pass on the specified care and follow-up instructions without inventing a universal retightening interval.
For repeat jobs, keep that record attached to the product reference. It supports the evaluated combination, not every G87 or aftermarket exhaust.
Frequently asked questions
Will a G87 diffuser fit an aftermarket exhaust?
Only a product-specific check can establish that. Provide the exhaust reference, photos and requested dimensions before ordering.
Does the bumper need to come off?
Follow the procedure for the selected diffuser. Access requirements cannot be copied from another design.
What torque or exhaust gap should I use?
Obtain the applicable product and vehicle instructions. A universal figure would ignore the actual joint, materials and exhaust arrangement.
Can the shop trim a part that does not align?
Do not modify it to resolve an unexplained mismatch. Document the issue and obtain a version-specific response first.
Get the details before you book the bay
A missing fitting or unanswered clearance question can disrupt the whole customer job. Send the product reference and rear-end photos now, before disassembly. Request the G87 diffuser hardware and installation information, and ask for any gaps in the documentation to be identified clearly.
Include your workshop, vehicle year, bumper and exhaust details, diffuser reference, kit photos and intended installation date. If you have not selected a version, review the G87 diffuser options first. For condition and acceptance records, use our sample inspection guide.