
The car is in the bay, the customer expects an update, and the new carbon part will not sit where it should. Reaching for a drill can feel like the fastest way forward. It can also remove the evidence you need to identify the real problem.
When carbon fiber parts are not fitting, pause irreversible work and verify the product reference, vehicle configuration, supplied components and installation instructions. Document the mismatch before deciding whether the issue is the application, assembly sequence, vehicle condition or the part itself.
Send the product reference and trial-fit photographs for review. A clear report gives the supplier a problem they can assess instead of a modified part and an unexplained complaint.

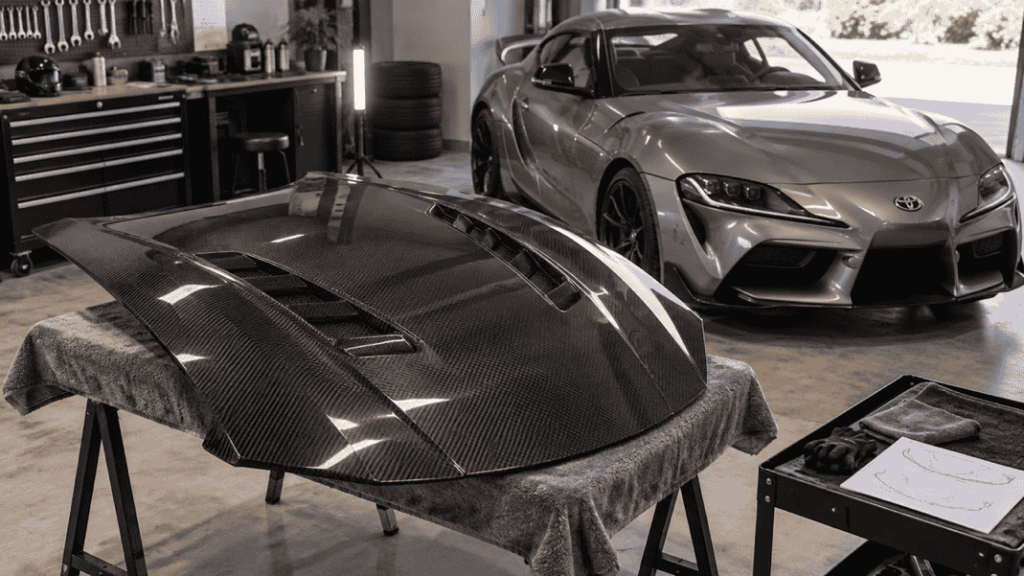
AI-generated workshop concept; not a documented customer fitment problem or approved installation.
1. Preserve the condition you received
Stop drilling, trimming, sanding, heating or forcing the part into place while the cause is unclear. Keep packaging, labels and supplied fittings together. Record any changes already made rather than attempting to hide them.
This pause is diagnostic, not a declaration that the product is defective. An incorrect application and a damaged mounting surface can look similar in a close-up. Keeping the original condition helps the parties distinguish them.
If a fitted component has uncertain retention or affects hood closure, moving parts, visibility or vehicle equipment, do not release the vehicle for use until the issue is resolved. Remove or secure incomplete work through the appropriate professional procedure; a temporary visual fit is not an acceptance test.
2. Check product identity before geometry
Compare the order confirmation, package identification and actual part. Record the supplier reference, revision, left or right side and assembly contents. A listing title alone may cover several configurations.
Next, confirm the customer’s actual vehicle: chassis, body style, production information, relevant options and current exterior components. Include replacement bumpers, repaired panels and previous modifications. A correct badge on the trunk does not prove that the mounting surface remains standard.
Examples of useful distinctions include a coupe versus convertible spoiler, an overlay versus replacement mirror cover, and a grille version intended for different equipment. These are investigation prompts, not findings about your specific order.
If the application itself is unclear, use the relevant component checklist before judging the fit: BMW F80/F82/F83 spoiler fitment, Audi RS7 bumper and exhaust matching, or W463 mirror-cap product identification. These guides identify different questions for different products; they do not establish compatibility between vehicles.
3. Compare the contents with the instructions
Check whether the required brackets, adjoining pieces or transferred components are present and correctly identified. Ask whether the selected item is a complete assembly or one part of a larger arrangement.
Read the current instructions for the delivered version. Some installations require a defined assembly sequence, but you should not invent that sequence from a similar online video. If the documentation is missing or inconsistent with the supplied parts, ask for clarification before continuing.
A technician can then assess whether the mismatch arises before the specified assembly is complete or remains after following the approved procedure. Record the exact stage; “does not fit” is too broad to guide a useful response.
4. Describe the symptom without guessing the cause
| Observation | What to document | What to check next |
|---|---|---|
| Mounting points do not align | Overall position and each affected interface | Product version, side, required brackets and vehicle application |
| One edge sits away from the surface | Both ends and the surrounding panel | Correct mounting surface, part condition and specified positioning |
| Part contacts another component | Wide view and precise contact area | Existing modifications and product-specific clearance requirements |
| Clips or fittings differ | Supplied and required component references | Overlay/replacement type and assembly contents |
| Finish or edge damage is visible | Receiving photos, packaging and close-ups | Whether a supplier assessment is needed before trial fitting |
| Equipment is obstructed | Relevant vehicle configuration and affected area | Correct version and required functional verification |
These observations do not diagnose a defect by themselves. Do not pull mounting points together with extra fastener force or fill an unexplained gap with more adhesive as a substitute for establishing the cause.
5. Photograph the issue so another person can understand it
Start with the whole vehicle area, then the complete part, then close-ups of the mismatch. Keep orientation consistent and identify left and right from the vehicle’s perspective. Include the relevant product label in a separate image.
If a measurement is requested, agree on the reference points and method. A ruler photographed at an angle can be misleading, and a close-up without context may hide an incorrect overall position. Do not claim a tolerance failure unless you have the applicable acceptance criterion.
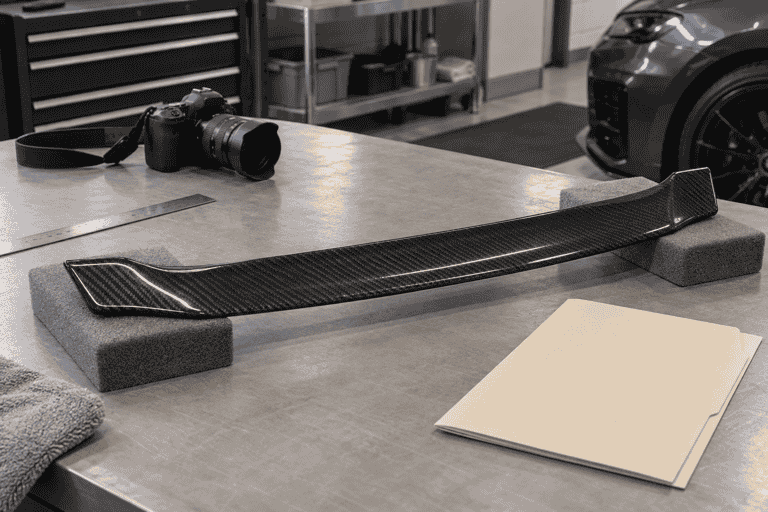
AI-generated documentation concept; no actual dimensions, defect or inspection result is shown.
Where movement explains the problem better than a photograph, provide a short video using the safe inspection method agreed with the supplier. Do not repeatedly load or flex the part just to make the symptom more visible.
6. Get a specific next action in writing
Send one organized message containing the order number, product reference, vehicle details, instruction version, observed issue and work already performed. Ask whether further information, a revised procedure, a replacement component or a product assessment is required.
If modification is proposed, request the scope, responsible party, technical instructions and effect on the agreed support terms before accepting it. Permission to modify a part is not a substitute for a safe, product-specific method.
For bonded parts, the adhesive system also has application requirements. 3M’s tape application guidance discusses factors such as surface preparation and application conditions. It does not authorize a particular tape, primer or repair method for your part. Follow the approved system rather than treating all double-sided tape as interchangeable.
Keep the customer update factual
Tell the customer what has been identified, what is awaiting confirmation and when you will provide the next update. Do not promise an immediate fix before the supplier or technician has assessed the issue.
A useful update is: “The delivered version is being checked against the current bumper. We have sent the reference and trial-fit images and have paused permanent installation.” Avoid assigning blame before the evidence supports it.
Once the supplier confirms the correct reference or revision, update the product record using the dealer product-data checklist. Keep the resolved application and contents visible so the same ambiguity does not carry into the next sale.
Frequently asked questions
Does a gap automatically mean the carbon part is defective?
No. Check the application, mounting surface, part condition and approved fitting method. Compare against a documented criterion rather than appearance alone.
Can I drill new holes to make the part fit?
Pause until the cause and approved remedy are established. Drilling can change both the part and the available evidence, and requires product-specific instructions where authorized.
Should I apply more tape if an overlay lifts?
First confirm the correct cover, contact surface and bonding procedure. More tape does not establish that an incompatible shape will be suitable.
What information should I send first?
Send the order and product reference, exact vehicle configuration, overview and close-up images, instruction revision and a short account of what has already been done.
Resolve the mismatch before making it permanent
Submit your fitment report while the part remains assessable. Use our sample inspection guide for receiving checks and the product catalog to identify the intended version.
A short pause with the right evidence can prevent a much longer argument about a part that has already been altered. Give your technician and supplier a clear basis for the next decision.