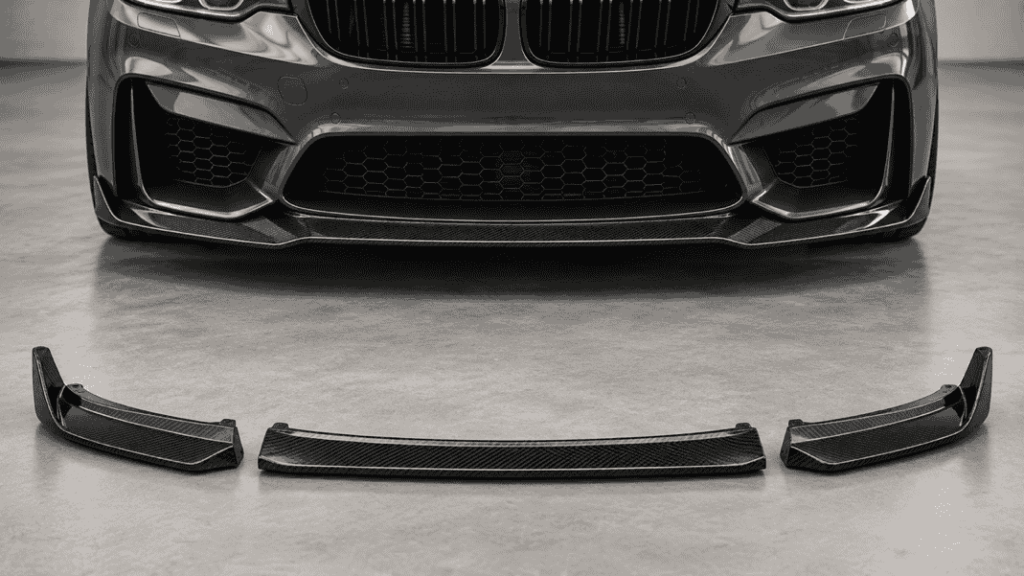
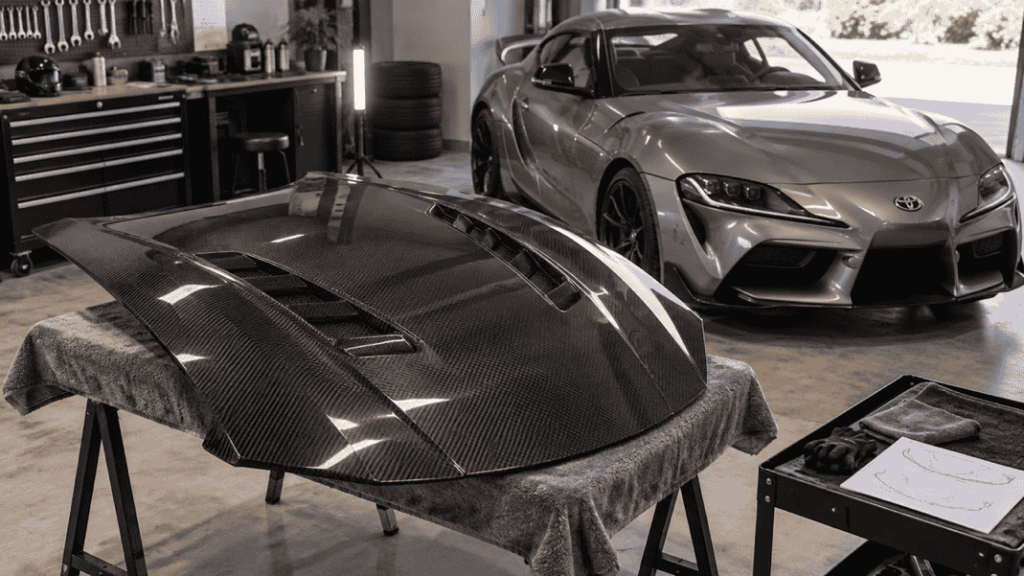
A hood can look aligned in a photograph while important attachment or closure questions remain unresolved. For a workshop, the goal is not simply to finish fitting the panel. It is to complete a documented installation using instructions that apply to the hood and vehicle in front of you.
Supra A90 carbon fiber hood installation requires the exact product instructions, confirmed hardware and a qualified technician’s checks of attachment, closure, clearance and any affected vehicle functions. This article is a preparation and inspection checklist, not a universal removal, torque or latch-adjustment procedure.
Request the installation document for your hood reference before removing the original panel. An unresolved technical question belongs in the planning stage, not at the end of a booked installation slot.

AI-generated workshop concept; not a completed installation or verification of hood retention.
First, match the paperwork to the actual hood
Record the supplier reference, revision and order number. Compare the delivered panel and supplied components with the approved specification. Obtain the current instructions for that exact version, including required fittings, any approved transferred parts and the retention arrangement.
A guide for another hood that looks similar is not sufficient. If the paperwork is unclear about original components, support hardware or required additional retention, ask the supplier before proceeding. Do not infer the answer from an installation video for a different product.
Toyota’s GR Supra parts catalog can help identify original component groups, including hood locks and hinges. It does not provide approval or installation requirements for an aftermarket carbon panel. Use the applicable vehicle service information together with the aftermarket manufacturer’s instructions; resolve any conflict before work begins.
Inspect and document before modifying anything
Inspect the shipping package and panel on receipt. Photograph any damage, affected surfaces and packaging, keeping the product reference visible in the job record. Check the supplied components against the agreed list.
Do this before painting, drilling, trimming or other irreversible work. If the panel or a critical attachment area appears damaged, stop and ask for a documented assessment. Do not turn a receiving concern into an unapproved repair.
Keep the original hood and removed parts protected until the job’s outcome and customer instructions are clear. Plan suitable handling equipment, assistance and padded storage according to the panel manufacturer’s requirements. A large light panel still needs controlled handling.
Record the vehicle’s starting condition
Have the technician document existing panel alignment, visible damage, relevant modifications and reported closure problems before disassembly. This creates a useful baseline rather than an automatic promise to reproduce an existing gap.
Confirm whether nonstandard engine-bay components or previous body repairs affect the proposed installation. Tell the supplier about relevant changes; a fitment photograph of a standard vehicle may not address them.
Protect adjacent surfaces and plan the work around the applicable vehicle and product instructions. Do not use a generic online checklist to decide a tightening value, drill location or closure method.
Use inspection gates, not guesswork
| Stage | Evidence needed before moving on |
|---|---|
| Product identity | Delivered version matches the approved hood and vehicle application |
| Hardware readiness | Required parts are present, identified and confirmed suitable |
| Attachment review | Interfaces are intact and the specified arrangement can be followed |
| Controlled trial fit | Technician has checked the prescribed clearances and alignment |
| Closure verification | Required retention and release functions pass the applicable procedure |
| Final review | Affected components and functions are checked and documented |
| Handover | Operating instructions, unresolved issues and any recheck requirements are addressed |
Mark a gate pending if its criteria are missing. Do not replace a missing specification with “looks about right.” Ask the manufacturer for the acceptance method and document the answer in the job file.
Latch and retention checks are product-specific
Confirm the complete retention arrangement required by the hood manufacturer, including whether any additional retention device is required for the intended application. Do not assume the factory closure method or hardware is automatically suitable for a different panel.
A qualified technician should verify closure, release and required retention functions using the applicable instructions. Do not repeatedly force the hood down to overcome resistance or attempt improvised adjustments to make it appear closed.
If engagement is uncertain, the panel interferes with another component or the required instructions are unavailable, stop and escalate. Do not road-test or release the vehicle with uncertain hood retention. A visual check or a warning light alone is not a complete installation acceptance procedure.
Clearance means more than the visible panel gap
Request the checks appropriate to the hood design and the vehicle configuration. These may involve surrounding body panels, components beneath the hood, fitted vent or water-management parts and other affected equipment. The manufacturer must define the applicable requirements; there is no universal clearance value in this guide.
Do not remove seals, protective pieces or other components merely to eliminate contact unless the approved instructions call for that change. Explain the exact contact location, vehicle configuration and hood reference when requesting assistance.
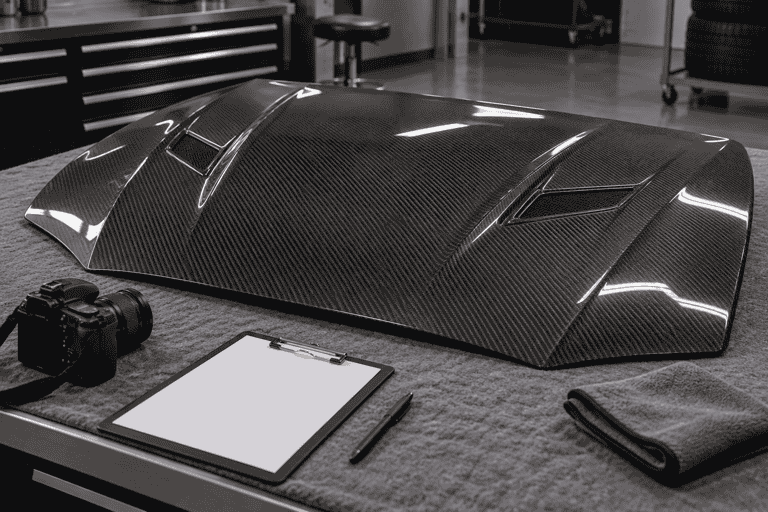
AI-generated documentation concept; not a technical illustration of latch or clearance inspection.
Send a problem report the supplier can act on
Include the order and hood reference, vehicle details, current modification list, instruction revision and the stage where the issue appeared. Add overview photographs and close-ups showing the same area from useful angles. State what has and has not been changed.
Ask for the next approved action in writing. Keep the customer informed about the effect on the schedule, but do not promise that an unassessed issue can be fixed within the original slot.
If the concern appears to involve the wrong hood version, return to the Supra hood buying checklist. For transport damage documentation, use the large-part receiving guide.
Frequently asked questions
Can I reuse the factory closing technique without checking?
Do not assume it applies to the aftermarket panel. Obtain the hood manufacturer’s operating and installation instructions and resolve any difference from the vehicle guidance.
What torque should I use?
Use the values and fastener requirements specified for the exact installation. This article does not supply generic torque settings for unverified hardware or carbon attachment points.
Can I drill or trim the panel if it does not line up?
Pause and obtain a product-specific assessment before irreversible work. First rule out an incorrect version, missing parts or a misunderstood procedure.
What should the customer receive at handover?
Provide the applicable operating and care instructions, the installation record and any manufacturer-specified follow-up requirements. Close unresolved retention or interference concerns before releasing the vehicle.
Get the instructions before the bay is occupied
Send the hood reference, vehicle configuration and installation questions. Request the required component list and the criteria your technician should use to accept the job.
Good preparation gives your workshop a defensible process, keeps the customer informed and avoids improvising around missing information. Confirm the details before the installation appointment.