Plan a prototype test-fit session around a defined vehicle, identified prototype, qualified personnel and a written list of questions. Borrowing the right car is only one part of the job. Without the correct configuration, tools and records, a valuable session can end with photographs but no usable decisions.
This is a preparation guide for a controlled fitment session. It is not an installation manual, a road-test authorization or a substitute for the project’s engineering approval.
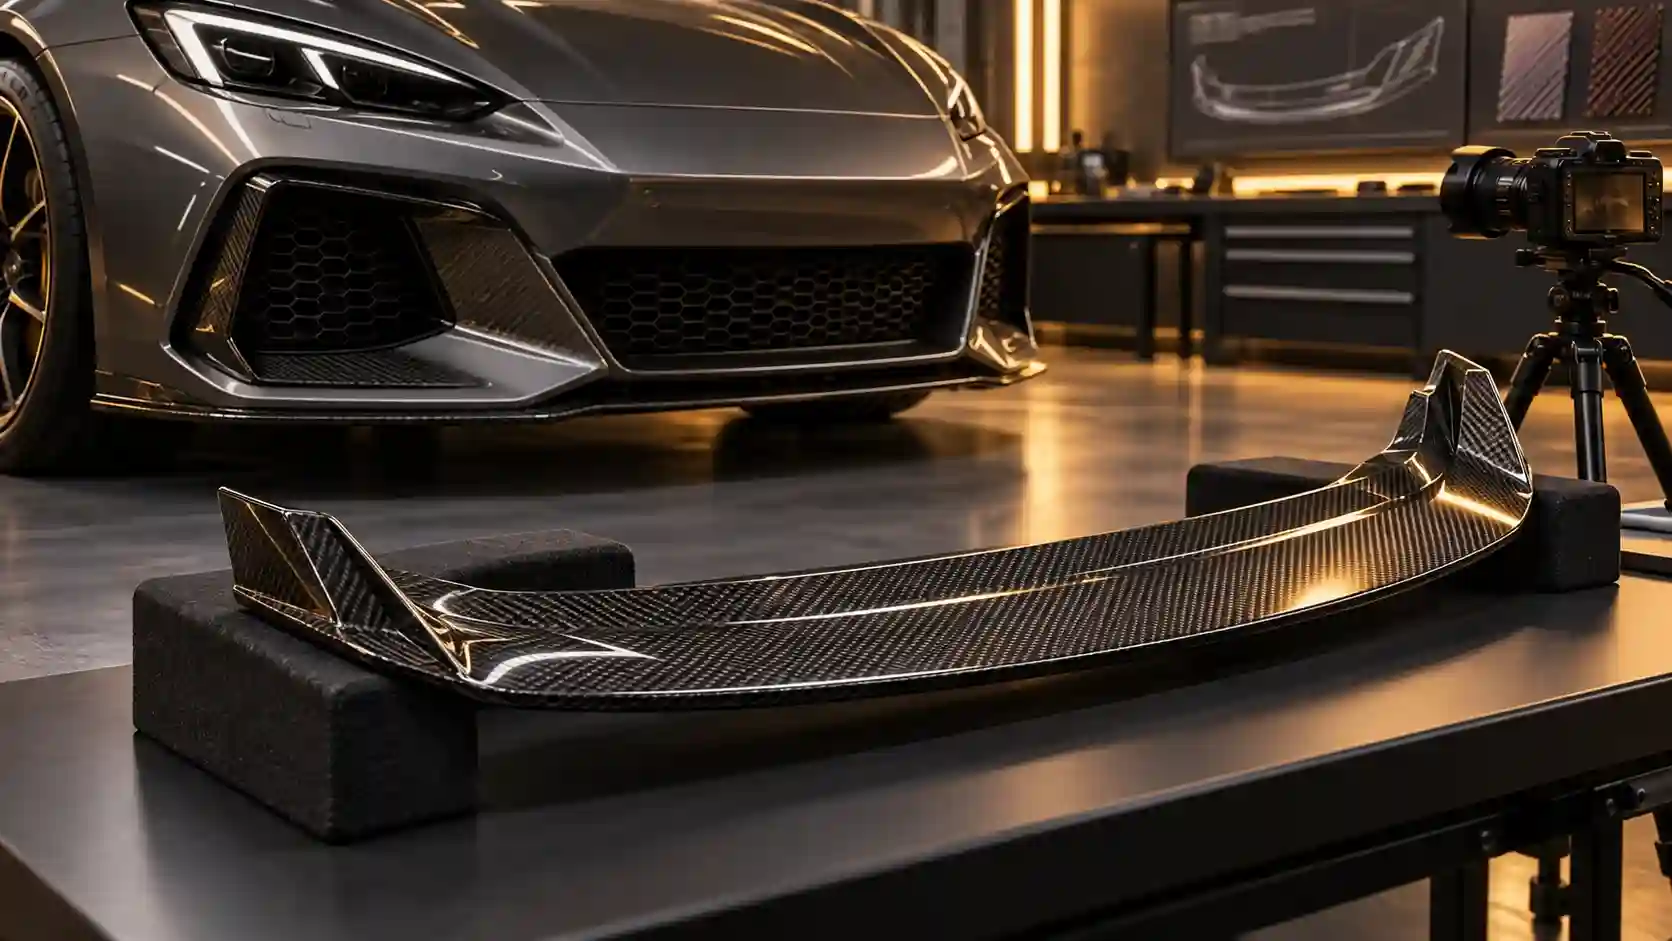
Define what the session must resolve
List the interfaces and observations to evaluate before arranging the vehicle. Examples include access to mounting areas, alignment at visible edges and clearance to identified neighboring components. Use the project team’s actual requirements rather than inventing universal gap tolerances.
Separate appearance observations from mechanical and functional questions. A panel looking aligned in a photograph does not establish acceptable fastening or compatibility with nearby equipment. Identify which questions require a specialist or a separate validation activity.
Prepare a session brief
| Item | Confirm before the appointment |
|---|---|
| Vehicle | Model, year, body version and relevant modifications |
| Prototype | Reference, revision, condition and supplied contents |
| Authority | Owner agreement and scope of permitted work |
| People | Technician, decision owner and record keeper |
| Resources | Applicable instructions, tools and safe working arrangements |
| Output | Required observations, photographs and open-question log |
Record any mismatch between the available vehicle and the target application. Decide whether the session can still answer useful questions or should be rescheduled. Do not quietly broaden an approval to cover configurations that were never present.
Use a staged agenda
- Confirm identities and photograph the baseline condition.
- Review the planned work and stop conditions with the technician.
- Perform the agreed checks using the applicable procedure.
- Record results against each planned question.
- Restore or secure the vehicle as required and document its release condition.
- Assign owners to unresolved issues and further work.
Allow time for recording and restoration, not just positioning the prototype. If access requires removing original components, plan their storage and reinstallation. Keep original hardware identified rather than mixing it with prototype fittings.
Make photographs useful for engineering review
Capture overall context, the specific interface and a repeatable close view. Label images with the prototype revision and observation reference. Include measurement context where the approved procedure calls for it; an isolated ruler photograph without a defined reference can be misleading.
Record what could not be checked and why. Restricted access, missing hardware or an unexpected vehicle modification are useful findings. They should not disappear from the report simply because they prevent a clean pass result.
Do not modify the prototype merely to make the session appear successful unless the responsible project team has authorized and documented that work. An altered sample is a new condition that must be traceable.
Set stop and release rules in advance
Stop when the technician identifies an unsafe condition, the required procedure or hardware is unavailable, or continuing would exceed the permitted scope. A prototype being physically present on a car does not authorize road use.
At the end, distinguish “observed,” “not evaluated,” “requires change” and “ready for the next agreed stage.” Avoid a single vague “fits well” message. The next engineer or buyer needs to know what was actually examined.
Keep vehicle-owner permission and any photography permission separate from product approval. Being allowed to use the car for a session does not automatically allow public use of identifying images or a customer endorsement.
Illustrative session agenda
Use this record as a buyer working tool. Examples and sample labels below are illustrative, not CCF inspection, order or test records.
| Record | Example or required entry |
|---|---|
| Opening | Confirm owner agreement, vehicle and prototype revision; record baseline condition. |
| Controlled review | Technician performs the authorized checks while a record keeper captures the agreed observations. |
| Close | Restore or secure the vehicle appropriately; record unresolved questions and release condition. |
Assign responsibility to each stage before the appointment. Do not treat the end of the session as approval for production or road use.
For the connected decisions, use How to Prepare 3D Scan Data for a Carbon Fiber Parts RFQ and How to Specify Mounting Inserts for Custom Carbon Fiber Parts.
Buyer FAQ
Can one vehicle session approve every model year?
Only the evaluated scope is documented. Additional configurations require an appropriate review before extending the claim.
Should the prototype be permanently attached?
Only where that work is part of the authorized procedure and project plan. Do not make irreversible changes simply to obtain photographs.
What should I send before discussing a session?
Send the vehicle configuration, project reference, prototype revision, available workshop conditions and the questions you need the session to resolve.
Prepare the Vehicle Session With a Clear Brief
Send the vehicle configuration, project reference and available workshop conditions. Identify the questions you want the proposed session to resolve.
Send an Inquiry
Include this article title, your product reference, vehicle details and the question you need resolved.