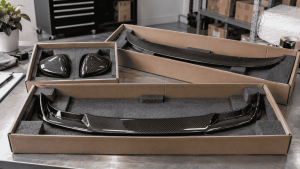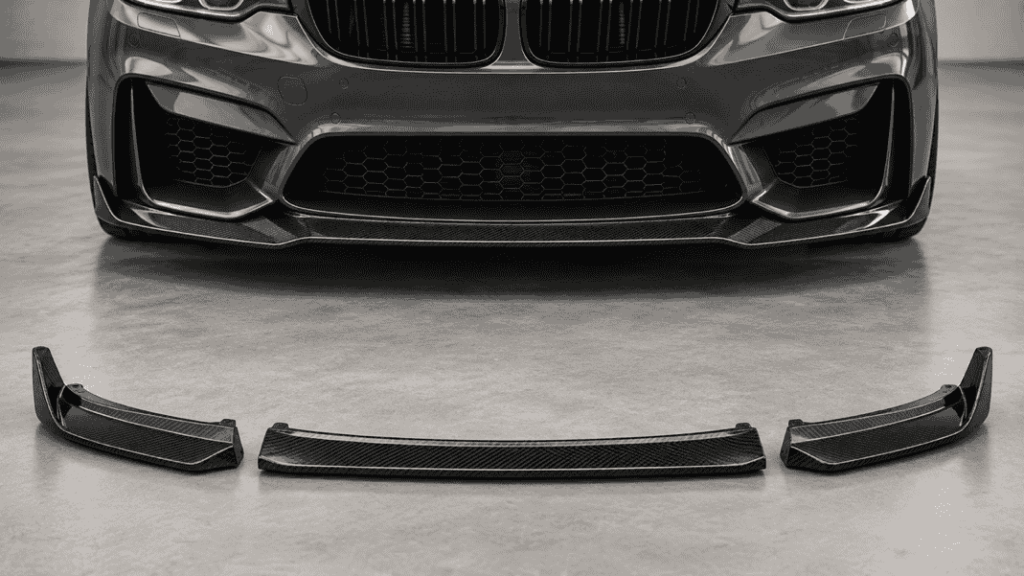
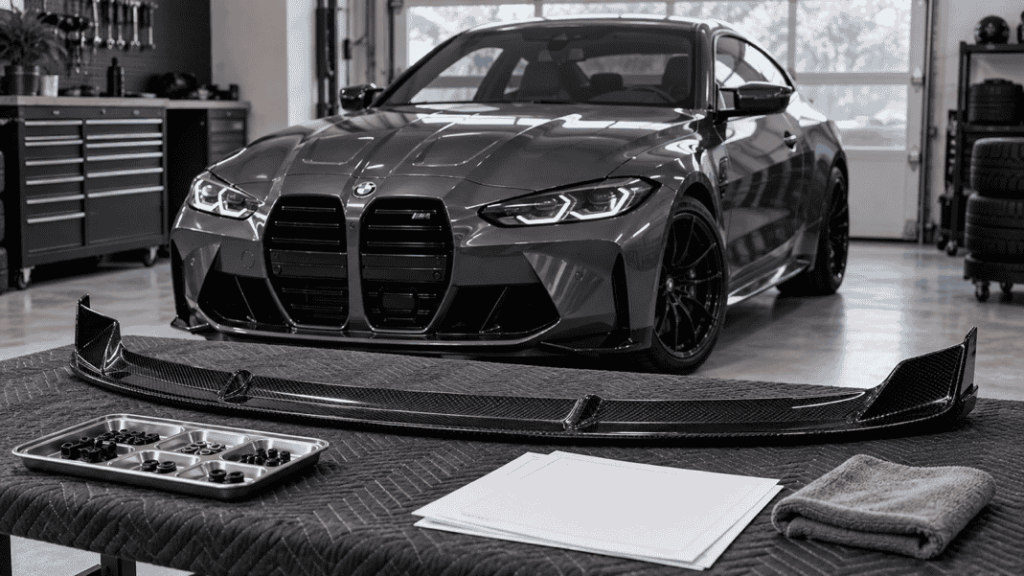
Your customer’s front lip has arrived, and the car is booked into the workshop. Before removing trim or reaching for a drill, match the supplied part to its installation instructions. The correct procedure depends on the exact lip, its mounting system and the bumper fitted to the vehicle.
BMW G80/G82 carbon fiber front lip installation starts with a confirmed product reference and matching installation documents. A video showing a similar-looking lip is not enough to establish fixing locations, hardware or adhesive requirements for yours.
This article provides a workshop workflow for using those documents. It is not a mounting manual for an identified SKU: product-specific drilling locations, fastener specifications, tightening values and bonding instructions must come from the confirmed installation information for the selected part.
Already have the part? Request the corresponding installation documents using your order reference, product reference and photos before starting work.

AI-generated workshop concept. The pictured lip is not a verified product installation or a mounting reference.
1. Match the vehicle, product and instructions
Create a job record with three matching references: the vehicle, the part received and the installation document revision.
| Item | Confirm before starting |
|---|---|
| Vehicle | G80 M3 or G82 M4, model year and relevant configuration |
| Bumper | Original factory bumper or identified aftermarket replacement |
| Front lip | Exact product reference, version, material and supplied sections |
| Instructions | Document or video explicitly covering that product and bumper combination |
| Hardware | Contents list and required items that are not included |
| Job requirements | Access method, trim removal, permanent modifications and any curing or release conditions |
Stock-bumper and aftermarket-bumper lips are separate applications in manufacturer catalogs. For example, ADRO lists a stock-bumper front lip separately from its V2 bumper-specific lip. Their instructions and specifications must not be transferred to another supplier’s similar-looking product.
If you are still selecting a part, use our G80/G82 pre-order fitment guide first. If the selected lip or its documentation does not match the actual bumper, resolve that mismatch before installation.
2. Check that the installation information is complete
Read the full procedure before disassembly. A short video may show the sequence while leaving hardware details or preparation requirements to a separate document.
Your product-specific installation information should establish:
- Which existing components and fasteners are removed, reused or replaced.
- How one-piece or multi-piece sections are positioned and assembled.
- Which fixing locations are used and whether new holes are required.
- The specified fasteners, washers, brackets or spacers and their locations.
- Applicable tightening instructions for each attachment.
- Any specified tape, adhesive, cleaner or primer and its application requirements.
- Required final checks, release conditions and aftercare instructions.
Do not fill gaps with settings from another kit. If written instructions, video and supplied hardware disagree, send the discrepancy to the supplier and obtain clarification for your version.
The tool list also depends on the confirmed method. Prepare the tools and materials it specifies, along with suitable vehicle access equipment and padded support for handling the lip. Do not assume a generic drill, screw assortment or roll of tape will satisfy the requirements.
3. Inspect and inventory the delivered kit
Before fitting, photograph the packaging and inspect the lip for visible shipping damage, damaged mounting features or missing sections. Match each supplied item against the confirmed contents list.
For a multi-piece lip, identify the center and side sections according to the instructions. Do not assume an assembly sequence from their appearance. For any version, separate supplied hardware from fasteners removed from the car so their intended uses remain clear.
If an item is missing or unidentified, resolve it before permanent attachment. Substituting a visually similar fastener can change how the joint is assembled.
Record the vehicle’s existing lower-bumper condition as well, including previous holes, repairs and accessories. These details help distinguish a pre-existing issue from one encountered during the installation.
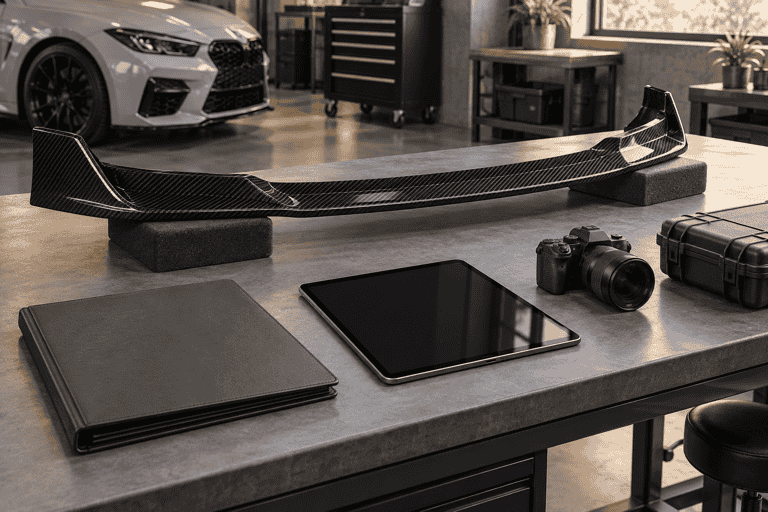
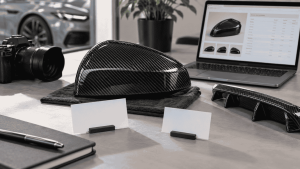
AI-generated preparation concept. The generic part and equipment do not illustrate a verified installation step or required tool list.
4. Carry out the instructed trial fit
Use the vehicle manufacturer’s approved lifting and support procedure and the workshop equipment instructions when underside access is needed. Protect the painted surfaces and support the lip without distorting it.
Follow the product’s procedure for a non-destructive trial fit before drilling, bonding or other permanent work. Compare the part’s position with the documented reference points and check the center and both corners together.
During this check, confirm:
- The mating surfaces follow the intended bumper contour.
- The sections, where applicable, align as described in the instructions.
- The specified mounting interfaces are accessible and correspond to the documentation.
- Existing trim and accessories do not create an unexplained obstruction.
- The resulting position is consistent with the intended clearance and projection.
Do not pull a mismatched lip into shape with fasteners or enlarge holes simply to make them align. Document the position and contact the supplier if the instructed trial fit cannot be achieved.
5. Complete preparation and attachment using the confirmed procedure
Once the trial fit and outstanding questions are resolved, follow the sequence specified for that product. The points below identify what needs confirmation; they do not supply missing installation parameters.
If mechanical fasteners are specified
Use the specified hardware in its assigned locations. Follow the documented sequence and tightening instructions. Where torque values are applicable, use the values and method confirmed for the relevant joint rather than a generic value selected by screw size alone.
If drilling is required, obtain the product-specific positions, hole sizes and preparation instructions before starting. Verify the working area as required by the procedure. Do not infer drilling points from this article or from an unrelated installation photo.
If tape or adhesive is specified
Confirm the exact bonding product and its compatibility with the specified surfaces. Follow the confirmed preparation, application-temperature, pressure and curing instructions. Request clarification if the lip instructions and adhesive manufacturer’s guidance conflict.
Do not replace required mechanical attachments with tape, add an unapproved adhesive or assume one universal waiting period applies to every kit. Record the materials used and any required application or release conditions in the job record.
If the bumper or lower trim must be removed
Follow the applicable vehicle and product procedures for removal and reinstatement. Whether that work is required depends on the selected lip and mounting system; it should not be inferred from a different installer’s video.
6. Complete final checks before handing over the car
Use the product-specific final inspection requirements. Confirm that the installation is complete, the required fixings and reinstated components have been checked, and any specified bonding or release conditions have been met.
Record the finished installation with front, corner and relevant underside photos. Check for unexpected interference and document the installed front clearance on level ground where useful for customer handover. Static clearance does not guarantee that the lip will clear every ramp or driveway.
Explain the supplied aftercare instructions to the customer, including any limits on driving, washing or handling during the specified bonding period. Follow any documented reinspection requirement; do not invent a universal interval or retightening procedure.
Keep the product reference, document revision, hardware record and completed checks together. They provide a useful basis for future service or a repeat installation of the same version.
If the installation does not match the instructions
| Finding | Information to send for support |
|---|---|
| Fixing locations do not correspond | Product reference, instruction page or video timestamp, and clear photos of both interfaces |
| One corner does not follow the bumper | Front and both-corner views, bumper details and trial-fit stage |
| Hardware is missing or unidentified | Photo of all supplied items beside the contents list |
| A mounting feature appears damaged | Overall and close-up photos before modification |
| Written and video instructions conflict | Both document references, revisions and the exact conflicting step |
Pause the affected work and request a version-specific response. Keep the part and packaging available, and explain any work already completed. Avoid trimming, additional drilling, heat reshaping or hardware substitutions as an improvised remedy.
A useful support request identifies the discrepancy clearly; it does not need to diagnose the cause before the supplier reviews the evidence.
Frequently asked questions
Does every G80/G82 front lip use the same installation method?
No universal method should be assumed. The lip version, bumper, mounting features and supplied hardware determine the applicable procedure.
Can I install the lip without removing the bumper?
Confirm that in the instructions for the selected product. The access required for another kit may not apply to yours.
What torque should I use for the front lip fasteners?
Use the instructions confirmed for the specific fastener and joint. This article does not provide a universal tightening value. If the required value or method is missing, obtain clarification before completing that attachment.
Can double-sided tape be used on its own?
Only use the attachment system specified for the selected product. Do not treat tape as a substitute for required screws, brackets or other fixings.
How long does installation take?
Estimate labor after reviewing access, disassembly, trial fitting and the attachment procedure. Keep hands-on labor separate from any specified curing or vehicle-release period.
When can the customer drive or wash the vehicle?
Follow the applicable product and bonding-material instructions. The answer depends on the confirmed installation method and conditions, so no single waiting period is stated here.
Request the installation files for your front lip
Send a product-specific installation support request with the information below. Ask which documents are available for your exact version and identify any missing instructions before starting permanent work.
Copy and complete:
- Workshop name and contact:
- Order number and exact product reference:
- Product label or catalog screenshot:
- Vehicle: G80 M3 / G82 M4, model year:
- Bumper: original / aftermarket, with reference if known:
- Photos of the lip front, rear and supplied hardware:
- Current installation document or video reference, if any:
- Stage reached and specific question:
Please confirm: the matching installation document or video, hardware list, fixing requirements, applicable tightening instructions, bonding requirements where used, and final inspection and handover requirements.
Need to identify the part first? View our G80/G82 front lip range and include the corresponding product link in your request.