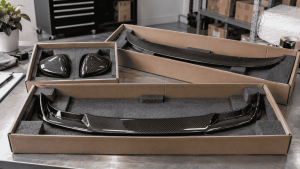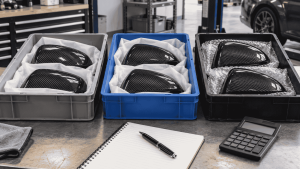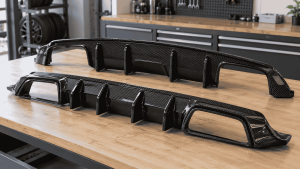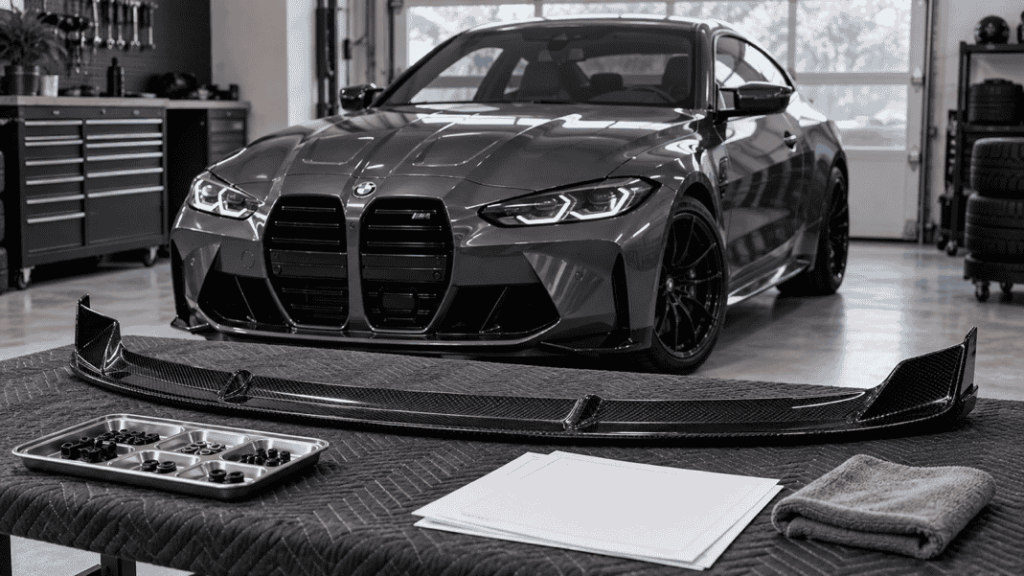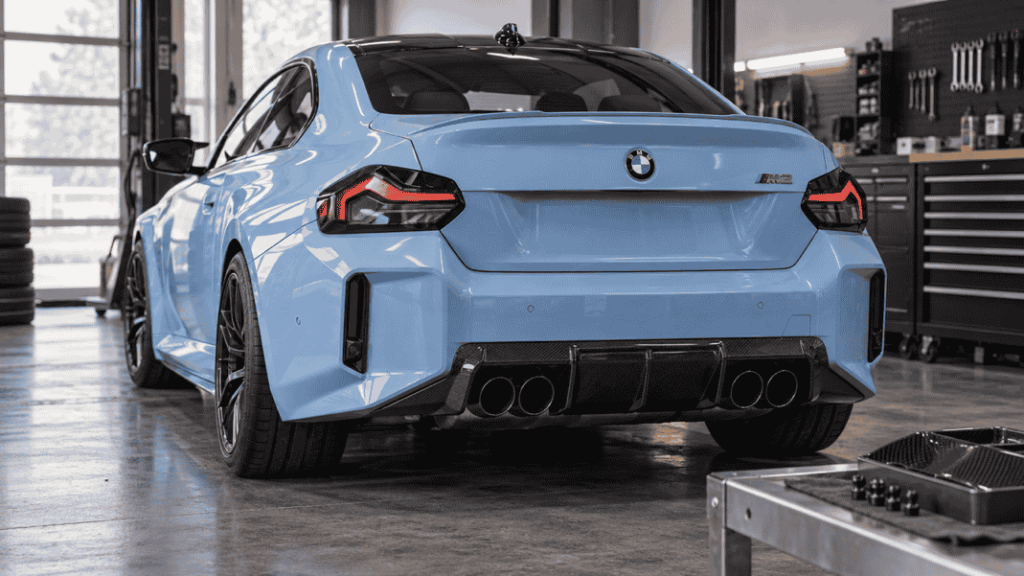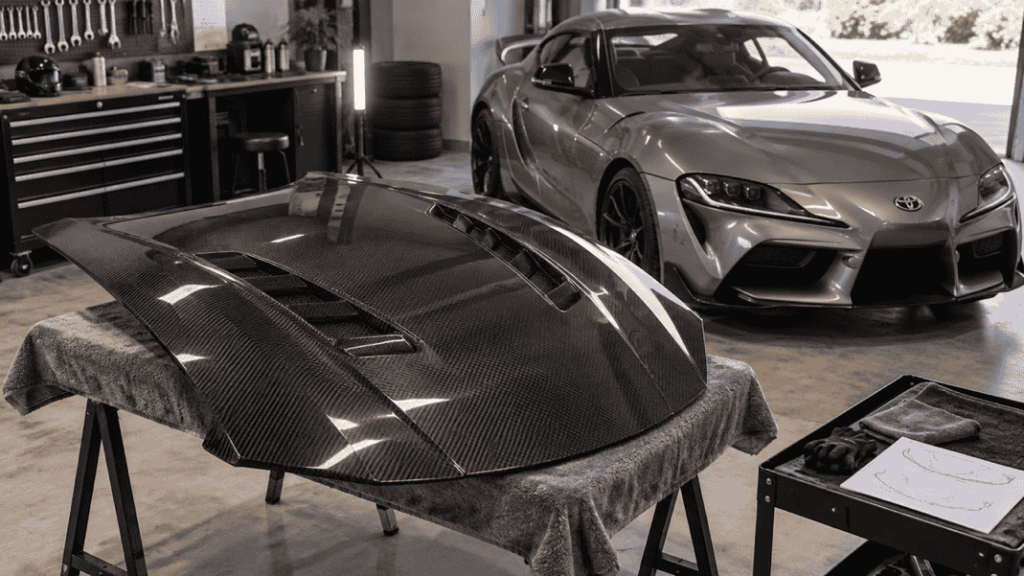
A useful installation portfolio shows the whole vehicle, the actual part and the details a buyer needs to understand the result. Attractive lighting helps, but consistent viewpoints and honest context are what make the images useful to a tuning shop’s sales team. Plan the photographs before the vehicle leaves.
Give every shoot a clear purpose
Decide whether the images will support a customer case, a product listing or a fitment record. One set can serve several purposes, but the claims should remain different. A finished-build image demonstrates appearance; it does not by itself prove an installation time, construction specification or performance improvement.
Record the vehicle and product reference with the images. Note relevant modifications and which parts your business actually supplied or installed. Do not let the caption imply responsibility for every visible component when the job covered only one item.
Capture a repeatable six-view set
| View | What it helps explain |
|---|---|
| Whole vehicle | Overall appearance and location of the part |
| Front or rear square-on view | Relationship to adjacent bodywork |
| Three-quarter view | Projection, shape and visual balance |
| Close-up of the finish | Visible surface and weave without a heavy filter |
| Relevant edge or interface | How the installed component meets surrounding panels |
| Matching before view, when available | A clearer comparison of the work actually performed |
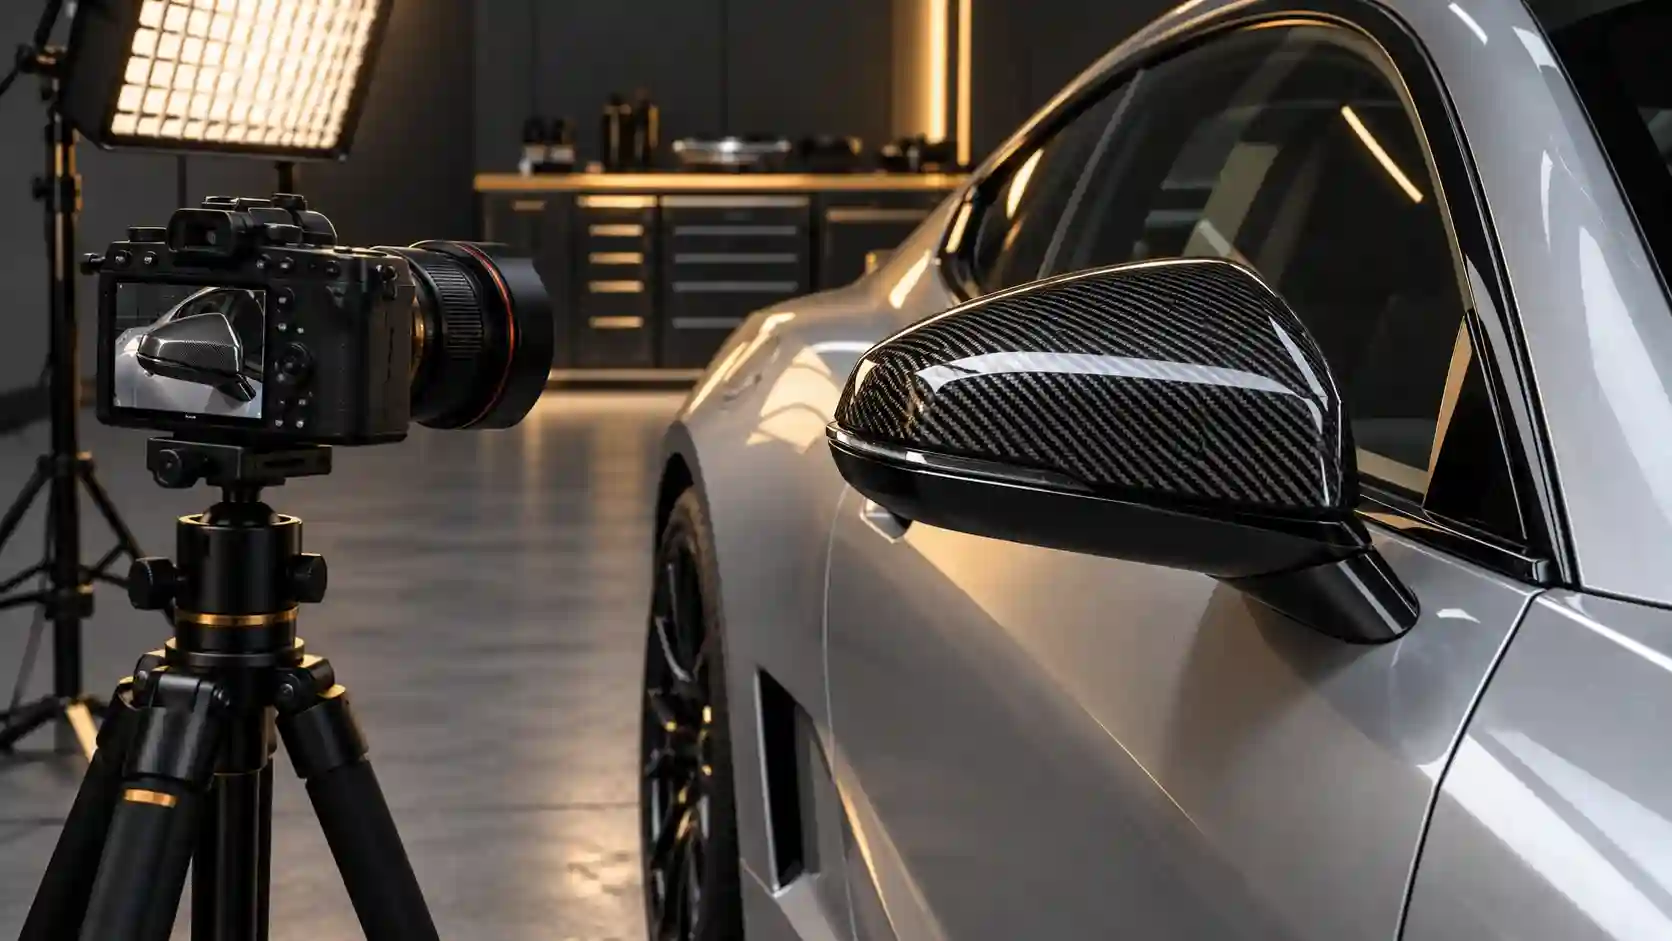
For a mirror cap, that might mean one full side view, a close-up and an angle showing the cap’s relationship to the housing. For a front lip, include the entire front end before focusing on the carbon detail. The buyer should not have to guess where the photographed piece sits.
Use light that reveals rather than hides
Carbon surfaces can produce strong reflections. Move the camera or light to show the contour and finish instead of relying on a single bright highlight. Check the result on a larger screen before the customer departs. A phone image that looks sharp as a thumbnail may not be useful in a full-width article.
Keep original files and avoid smoothing tools that erase surface detail. Correct presentation should not remove marks, alter panel gaps or make one version look like another. If an image is an illustration or render, label it separately from real customer work.
Make before-and-after comparisons fair
Use similar camera positions, framing and lighting where practical. Record whether other changes occurred between photographs. A new wheel set, lowered suspension or different exposure can influence the apparent result; do not attribute the entire transformation to the carbon part.
If no genuine before image exists, publish the finished view on its own. A borrowed stock photo of a different vehicle is not an honest “before” record for that customer project.
Get display permission and remove unnecessary identifiers
Confirm permission for the intended use of customer photographs and testimonials. Keep that permission with the project record. Review plates, faces, workshop documents, screens and location details before publication. Only retain identifiers that are appropriate and authorized for the intended display.
Do not copy a customer conversation onto a public page without reviewing the whole image. Delivery addresses, phone numbers and unrelated messages can be present even when the praise itself is suitable for publication. Preserve the original privately and use a properly prepared public copy.
Write captions that add facts
A useful caption might read: “Customer-supplied photo of the selected carbon mirror cap after installation; vehicle and part reference held in the job record.” If you can verify the exact model and product, include them. If you cannot, keep the description narrower.
Image ALT should describe what is visible and relevant to the page. For example: “Carbon fiber mirror cap installed on a silver BMW, shown from the side.” Repeating wholesale supplier keywords or describing unproven performance does not make the image more useful.
Organize the files for the next sale
- Keep originals in the project record.
- Create publication copies with clear names and the required privacy treatment.
- Store the approved caption, ALT and permitted uses with those copies.
- Link the case to the exact product only after its identity is confirmed.
This turns a one-time photo opportunity into a reliable sales resource. A colleague can find the right example without guessing which customer car or part version it depicts.
Questions from shops
Do I need a professional camera?
Not necessarily. Clear focus, useful views, original files and consistent light matter more than owning a particular camera.
Can a finished photo prove perfect fitment?
It shows only what the view reveals. Do not extend that into a universal fitment guarantee or an installation claim.
Can I send CCF a build photo to identify parts?
Yes. Include the vehicle details and mark the components you want to discuss. Confirm permission before requesting publication as a customer case.
A six-view photo delivery list
Use this record as a buyer working tool. Examples and sample labels below are illustrative, not CCF inspection, order or test records.
| Record | Example or required entry |
|---|---|
| Context | Whole vehicle view plus a view locating the supplied component. |
| Product detail | Useful angle of the installed part and a close finish view. |
| Interface | Relevant edge or mounting-area view where safely accessible. |
| Identity | Record the product reference and vehicle information separately from the public caption. |
Deliver originals and public exports separately. Do not edit a photograph to hide a gap or imply a component was supplied by CCF when that relationship has not been established.
For the connected decisions, use How to Create a Carbon Fiber Aftercare Guide for Your Customers and How to Plan an OEM Equipment Transfer to a Carbon Fiber Trunk Lid.
Turn a Build Photo Into a Clear Parts Inquiry
Send vehicle details and mark the parts you want to identify. If you want photos considered for a customer case, confirm you have permission to share them.
Send an Inquiry
Include this article title, your product reference, vehicle details and the question you need resolved.