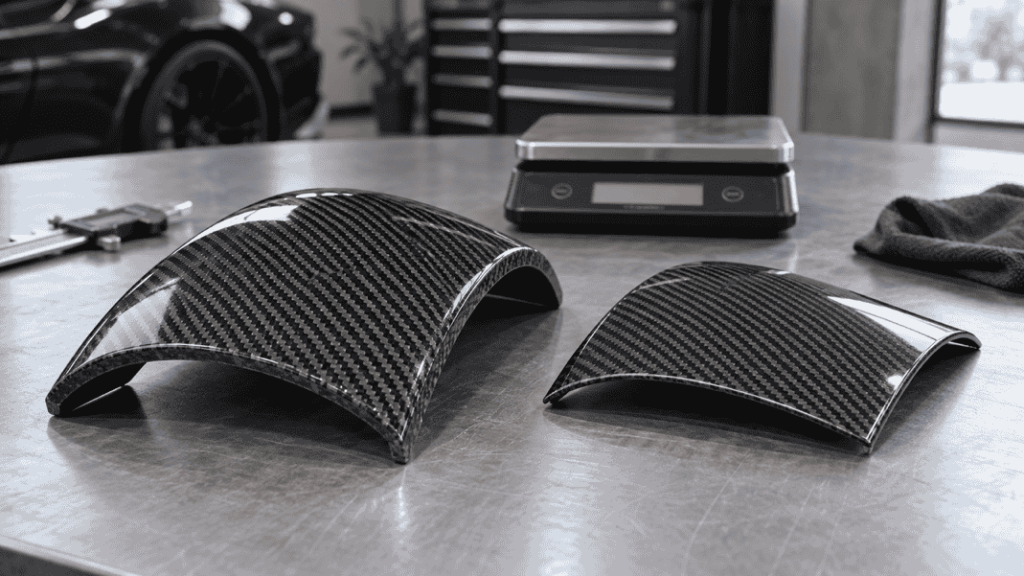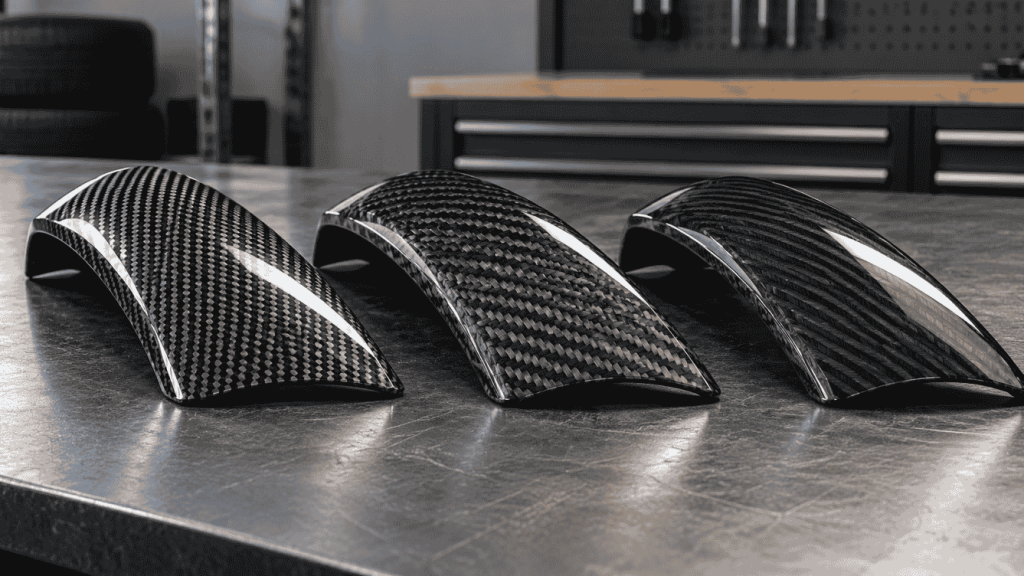
A front lip commonly follows the lower bumper outline, while splitter often describes a more projecting front component with aerodynamic intent. Aftermarket usage overlaps, so compare the actual shape and mounting system. The label alone does not establish a measured performance benefit.
For a daily-driven customer car, start with the desired appearance, documented installation scope and access conditions. A performance-led project also needs evidence relevant to the selected part and configuration.
Which should a shop shortlist first?
For an appearance-led brief, shortlist the product profile the customer prefers and check its complete fitting and clearance scope. For a specified aerodynamic objective, shortlist against the required evidence and engineering scope rather than the most aggressive photograph.
Both routes need an identified reference, supplied contents and actual vehicle application. Neither category guarantees tape-only attachment, support rods, road clearance or a fixed downforce figure.
Front lip vs splitter: the buyer’s comparison
| Buying question | What to compare | What the name cannot establish |
|---|---|---|
| What does the customer want? | Appearance, a specific measured performance objective, or both. | That every aggressive-looking design delivers a documented aero benefit. |
| What is supplied? | Actual reference, section count, finish, accessories and sales unit. | Whether a pictured whole front end is included. |
| How is it installed? | Product-specific mounting, access and supporting-component requirements. | That every lip uses tape or every splitter uses rods. |
| Will the car remain usable? | Installed position, projection, vehicle setup and ordinary access routes. | A universal clearance loss or suitability for every lowered car. |
| What happens later? | Available replacement assemblies/sections and revision identification. | That a multi-piece product has separately purchasable spares. |
Use appearance to shortlist, not to approve the specification
“Lip” often describes a component following the lower bumper outline, while “splitter” is often used for a more projecting, flatter front component with aerodynamic intent. Products can blur those descriptions. Confirm the shape and installed arrangement of the actual reference.
Ask for overall, side-profile and underside views. Identify the bumper application, the visible sections and the intended mounting interfaces. A low camera angle can make projection hard to judge; it is not a substitute for dimensions referenced to the vehicle.
For example, CCF’s G80/G82 three-piece CSL-style reference identifies separate sections and asks buyers to confirm the complete set. The V-style reference also requires confirmation of its section arrangement and mounting layout. Neither name establishes a tested aerodynamic classification.
Choose the purchasing questions around the intended use
A daily-use customer may care most about finish, familiar access routes and the installed price. A display build may prioritize appearance across the lip, side components and rear pieces. A performance-led project needs the evidence and technical scope appropriate to its stated objective.
Those priorities help define the comparison; they do not create a universal material ranking. Do not promise that a carbon part tolerates scraping, or infer performance from rigidity alone. Where a customer needs a numerical benefit, ask for the supporting product-specific information.
Ask for the complete mounting scope before quoting labor
Get the instructions for the selected product and bumper configuration. Identify required access, supplied and reused components, any separate supporting items and conditions for completing the job.
Do not prescribe an attachment method from a styling photo. The installer needs the actual system, including any preparation or permanent work the confirmed procedure requires. A set of instructions for another similar product can suggest questions but cannot supply missing drilling locations or fastening requirements.
For an existing G80/G82 job, use the installation-document workflow. This article is about choosing and specifying a product; the installation page covers the document and workshop handover.
Compare clearance and projection on the actual car
Record the installed suspension, wheel/tire setup and relevant load condition. Ask for the product dimensions needed to locate the lowest or projecting areas once installed. Include planned suspension or bumper changes in the brief.
A static measurement answers one condition. The actual vehicle’s ramps, driveways and surface transitions need a qualified workshop’s assessment where they affect the choice. Use the lowered-car clearance guide to prepare a repeatable record. There is no universal clearance reduction implied by the lip or splitter label.
Match the claim to the evidence
If the available evidence concerns appearance and documented application, describe those attributes. If a supplier offers a measured aerodynamic result, ask for the reference, vehicle configuration, operating conditions, method and limitations.
Installation photographs and airflow graphics answer different questions. A fitted component does not alone prove a quantified performance improvement. Missing data also does not prove that no aerodynamic effect exists; it means that a specific unsubstantiated benefit should not appear in the offer.
The aero-claim evidence guide explains the information needed to assess a proposed performance statement. Keep that specialist question separate from confirming the packed contents.
Include replacement and delivery scope in the comparison
Record the complete supply price, packing, freight and installation scope. For a sectioned design, ask whether individual pieces are actually sold separately and which assembly revision they match.
A small replacement section may have a different packed shipment, but its existence and shipping cost require confirmation. The one-piece versus three-piece sourcing guide addresses that ownership and after-sales question.
Worked buying decision
Illustrative example: a customer requests “the track splitter look” for a daily-driven G82. The shop records appearance as the immediate goal, confirms the actual front-bumper configuration, compares current product profiles and mounting information, and reviews access constraints before quoting. It does not promise track performance because the selected part looks aggressive.
If the customer instead specifies a performance requirement, make the corresponding evidence and engineering review part of the brief rather than silently treating the appearance-led offer as the same project.
Compare Front-Lip or Splitter References
Send the actual bumper, selected references, customer objective, suspension/setup concerns, quantity, finish and destination. Request documented mounting scope and relevant installed-position information.
Send Your Product Requirements
Include your company, selected product or project reference and the question to resolve.